Wall-mounted tapware frees the basin counter and gives the water point an uncluttered appearance. Its success nevertheless depends on hidden elements: body position, installation depth and coordination with the finish. Those decisions must precede tiling and furniture manufacture.
01
Start with the basin actually selected
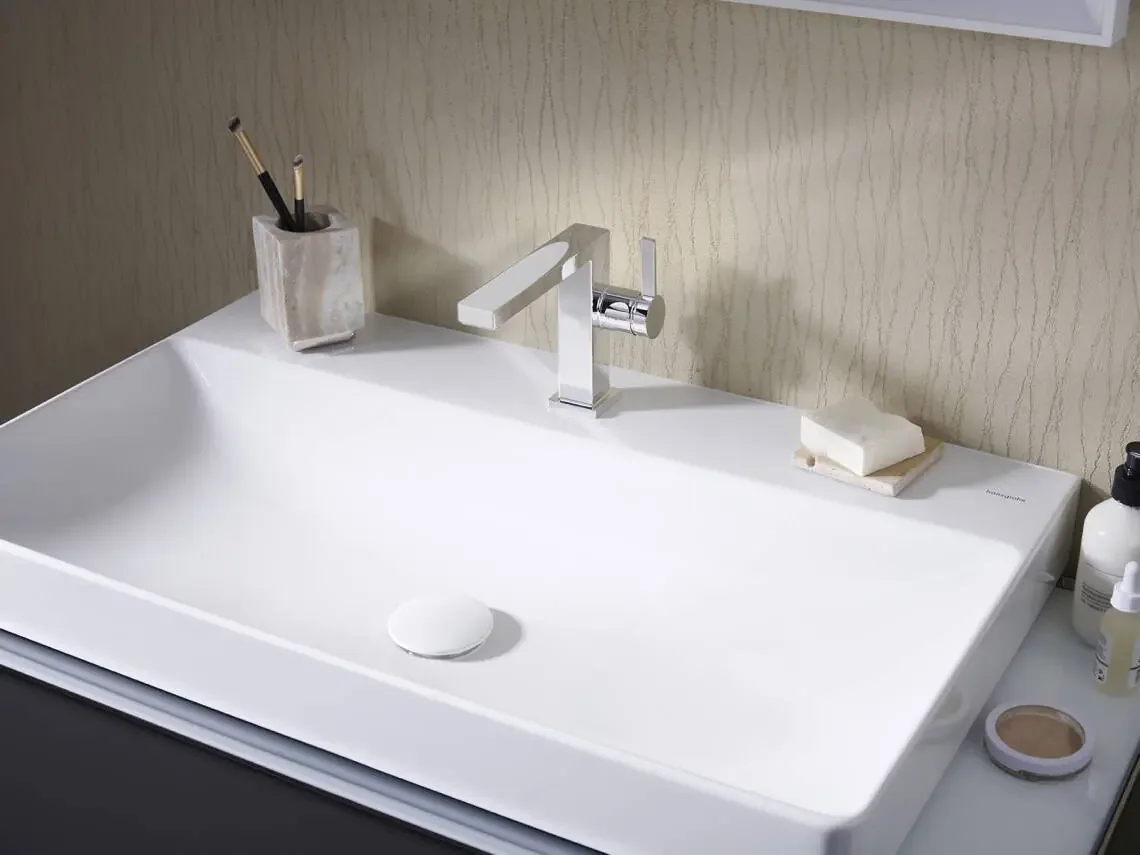
Spout position is determined by basin geometry and manufacturer guidance. Copying a height from a photograph may produce a poorly positioned stream or uncomfortable use. Work with the chosen model’s dimensions, not a generic basin.
Show the cabinet, basin, spout and finished wall in section. Check hand space and stream reach. If the basin or its position changes, repeat that check before confirming the openings.
02
Draw the finished wall thickness
The concealed body has a product-specific installation range. Substrate, preparation, wall system and finish all contribute to final thickness. Changing the tile can therefore affect the tap’s visible part.
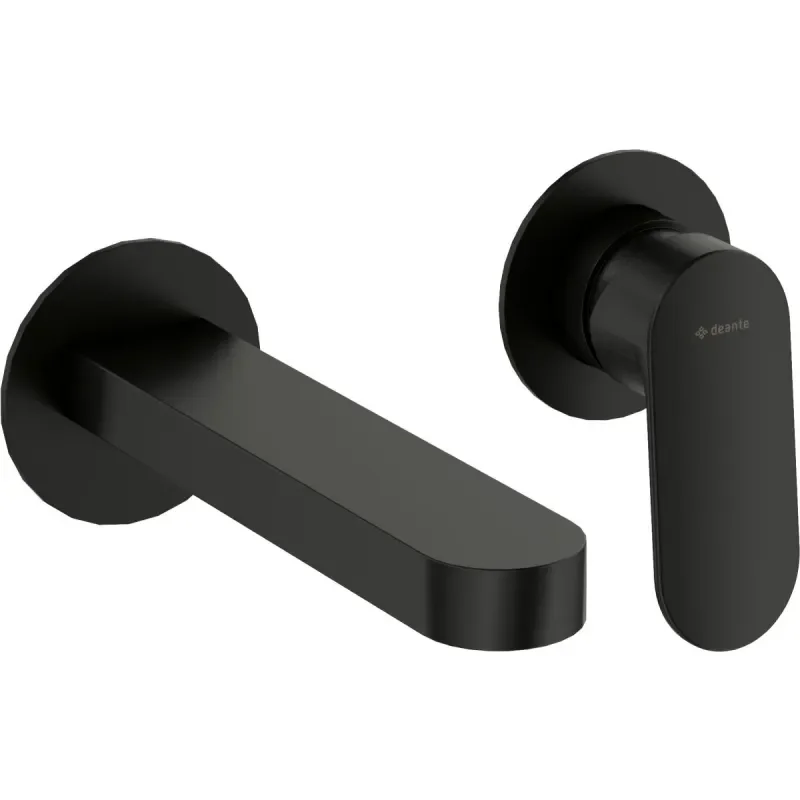
The Deante Alpinia BGA_N55L specification illustrates a two-hole concealed wall configuration. As with any reference, its instructions must guide installation. Do not transfer dimensions or components from another collection merely because it looks similar.
03
Coordinate escutcheons with the finish layout
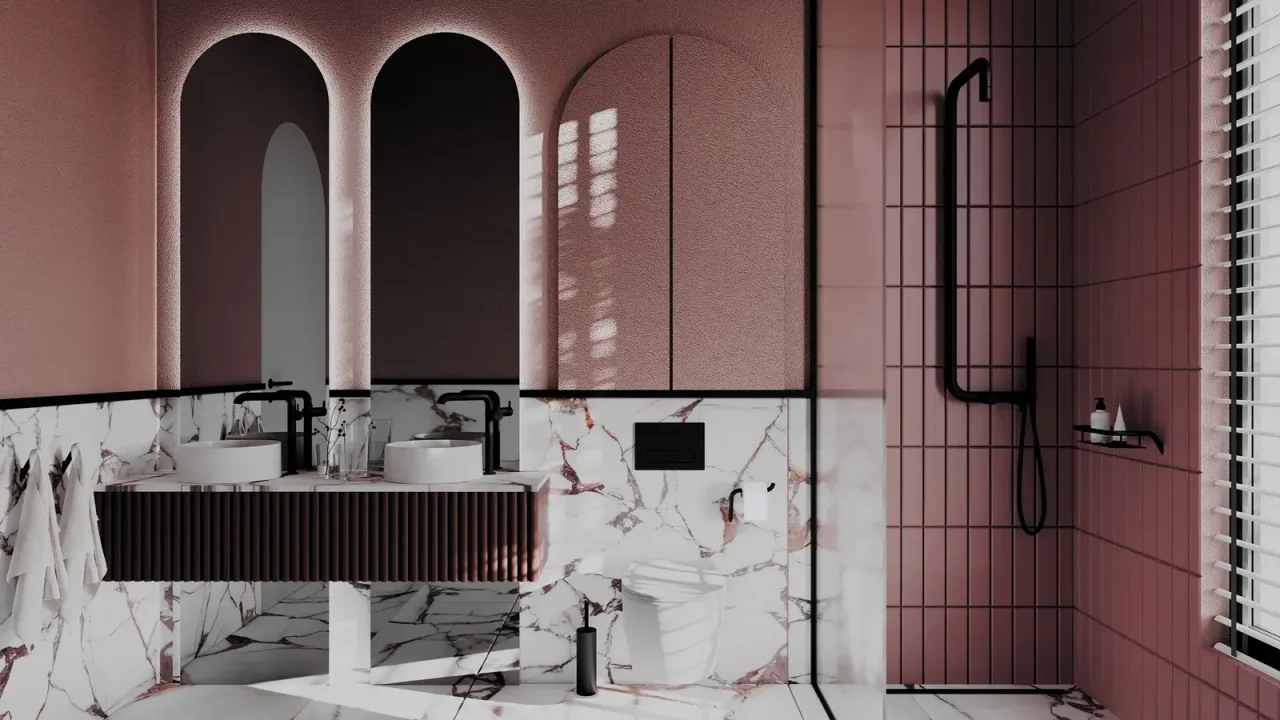
On small-format tiles, position outlets relative to joints. On a large veined slab, consider where the metal crosses the pattern. Escutcheons need a coherent position without forcing difficult narrow cuts around them.
With strong relief, have the contact-surface treatment specified. A smooth area may simplify the interface. Approve the aesthetic choice alongside the installation and waterproofing solution before finishing begins.
04
Preserve access and reference consistency
Identify the concealed elements and matching trim parts. Depending on the system, they may be supplied together or separately. The order file must clarify this to avoid discovering a missing component during installation.
Plan inspections and maintenance access according to instructions and site organisation. Keep references in the file handed to the client. An uncluttered front should remain an assembly with maintenance already considered.
Before you decide
- Choose the basin before planning openings.
- Calculate using finished wall thickness.
- Position escutcheons on the tile layout.
- Identify all parts of the assembly.
The essentials
Your questions, our guidance.
Is there a universal height for a wall spout?
No. Position depends on basin, spout, dimensions and manufacturer guidance. Check the assembly in section.
Can the finish change after the body is concealed?
That depends on the system and available compatible parts. Confirm the references concerned rather than assuming general interchangeability.
From idea to project
Discover at EDIFIS
Discover DeanteExplore THG ParisDownload documentationConfirm references, configurations, finishes and availability for your project.
Documentation & references
EDIFIS design advice. For specifications and installation, consult the documentation for the selected reference.
Deante · Alpinia BGA_N55L ↗