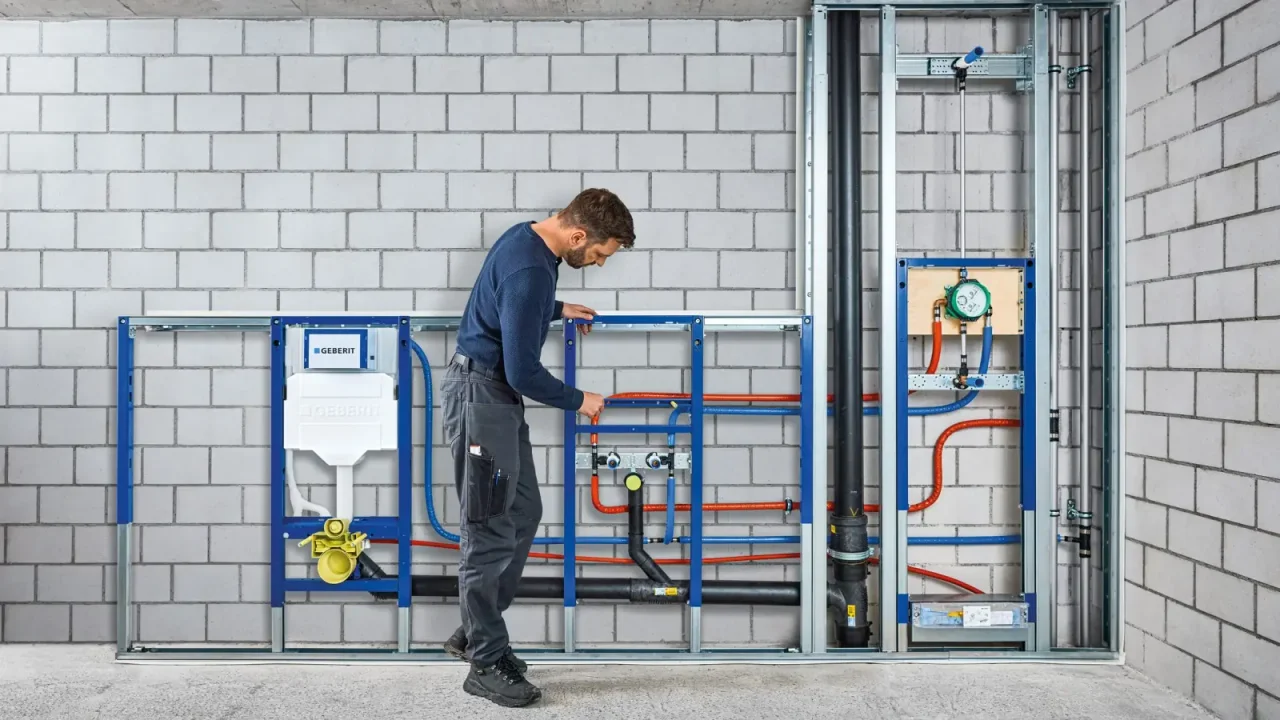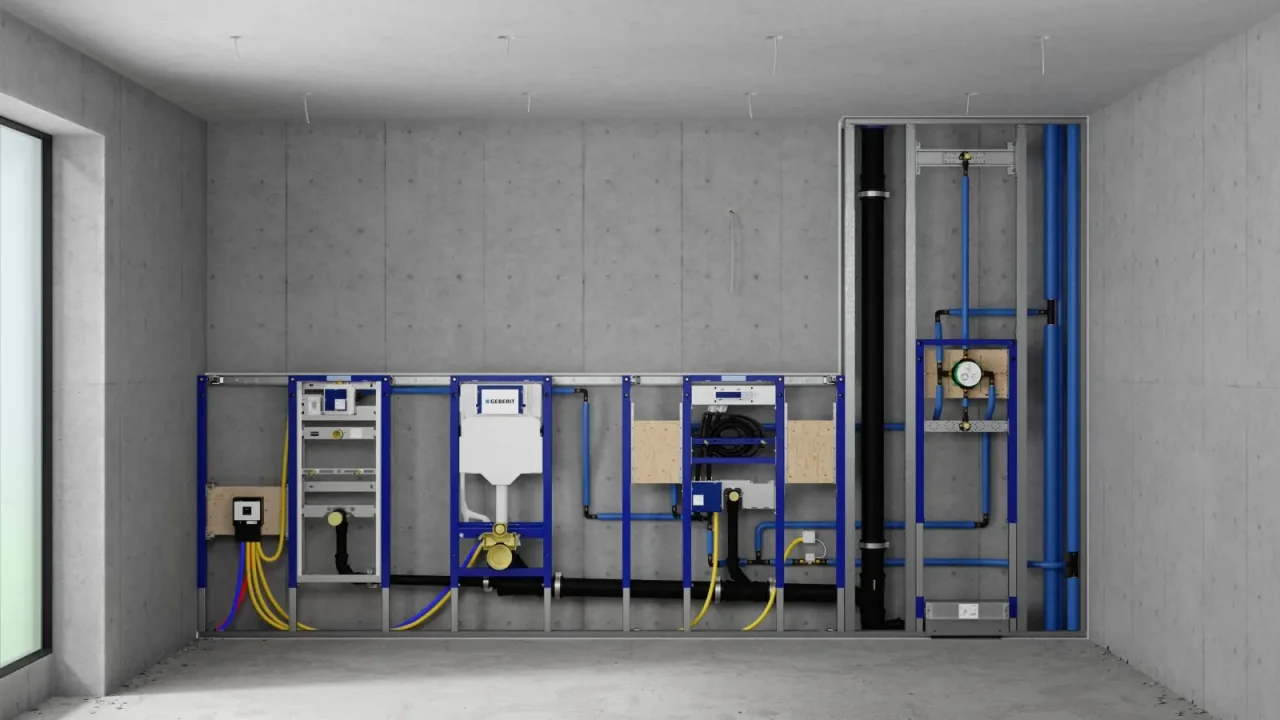
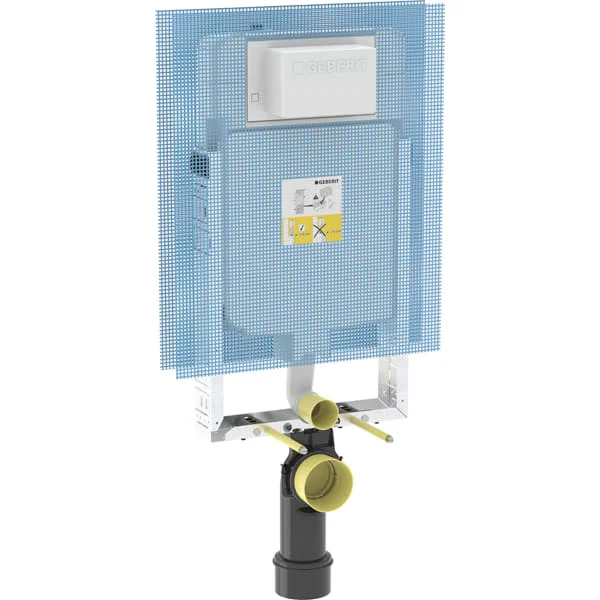
When renovating, “8 cm” may sound like the total depth of the new WC enclosure. It actually describes the cistern’s thickness. To establish how much space will remain in the room, the complete installation needs to be drawn. Geberit makes this clear in its Alpha documentation: cistern thickness and installation depth are different measurements.
01
Identify the system before comparing dimensions
The official catalogue identifies reference 110.175.00.1 as a Geberit Kombifix element with an Alpha 8 cm cistern, intended for solid masonry walls. It is not a Duofix. Alpha names the cistern family; it does not, on its own, define the installation system.
Ask for the full designation and reference on the quotation. Have the existing wall and proposed installation method checked. Two solutions with cisterns of the same thickness may require different preparation and occupy different amounts of space when finished.
02
Draw a section through to the tile surface
Have the existing wall, frame position, connections, proposed masonry or enclosure and finishing layers shown on the drawing. The depth that matters to the project is measured to the finished wall surface, from a clearly marked reference point on the plan.
The Alpha brochure expressly distinguishes cistern thickness from installation depth, which varies with the installation. Do not simply add a standard tile allowance to 8 cm and promise a finished dimension. The installer must confirm the actual build-up and necessary tolerances.
03
Check the waste connection and space in front of the pan
The position of the existing pipe and the route of the connection bend can affect the layout. Record them before finalising the enclosure. A slim cistern does not automatically solve an offset waste connection; the connection needs to be considered with the chosen system.
Then add the pan’s projection from the finished wall. Use this complete geometry to check the remaining space in front of the WC and door openings. For a project in Tunisia, bring EDIFIS a dimensioned survey and photographs of accessible pipework.
04
Plan the front face and its service access too
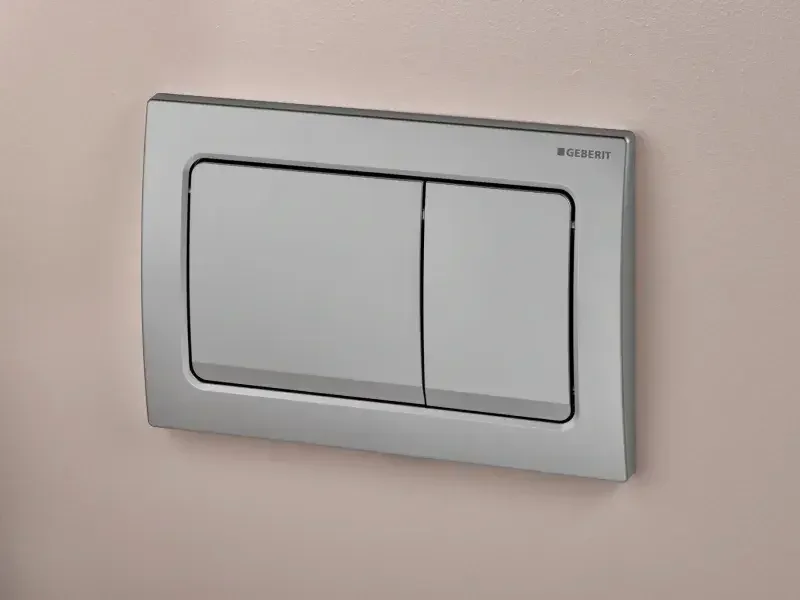
The data sheet for reference 110.175.00.1 specifies front actuation and an actuator plate ordered separately. Choose an Alpha plate with confirmed compatibility, then position it on the wall finish drawing. Identify the system before choosing its colour.
A shelf or adjacent cabinet must not obstruct the removal required for maintenance. Before closing the wall, have the professional check the connections and dimensions. Keep the approved section, delivered product reference and instructions with the property’s records.
Before you decide
- Record the complete system reference.
- Draw the section with all finishing layers.
- Check the waste connection and pan projection.
- Keep the actuator plate removable.
The essentials
Your questions, our guidance.
Does Alpha 8 cm guarantee an 8 cm finished enclosure?
No. The 8 cm describes the cistern. Finished depth depends on the installation and the layers around it.
Is 110.175.00.1 a Duofix frame?
No. The official catalogue places it in Geberit Kombifix. Have its suitability confirmed for your masonry wall and configuration.
From idea to project
Discover at EDIFIS
View Kombifix Alpha 8 cm at EDIFISPrepare your frame and cistern selectionCompare actuator platesReview dimensions in the showroomConfirm references, configurations, finishes and availability for your project.
Documentation & references
EDIFIS design advice. For specifications and installation, consult the documentation for the selected reference.
Geberit · Kombifix Alpha 8 cm 110.175.00.1 data sheet ↗Geberit · Alpha 2025 brochure, cistern thickness and installation depth ↗