Two white toilet seats can look alike in the showroom. At home, a few millimetres in the wrong place can leave the seat overhanging or its buffers resting unevenly. Take the bowl measurements and a photo shot directly from above.
01
Trace the bowl outline
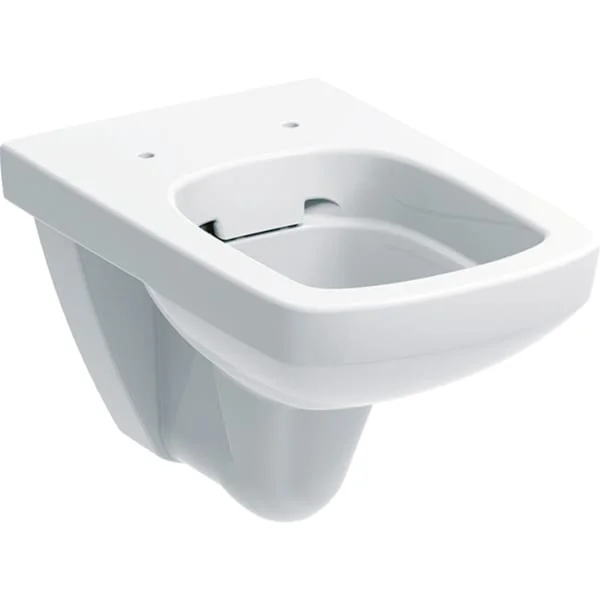
Raise the seat and look at the front and sides of the bowl. A rounded front can have straight sides or form part of an oval. If you know the ceramic range, write down its exact name.
02
Take three measurements
Measure the greatest width, the distance between the centres of the fixing holes, and the length from the line through those centres to the front edge. Mark each measurement on the photo so the adviser can see where it starts.
03
Look under the hinges
Can you reach the nuts under the bowl? Photograph the area. A fully shrouded bowl may call for top fixings. Check which type the seat you are considering will accept.
04
Check how the seat rests
Compare the dimensioned drawing with your measurements. Once fitted, the seat buffers should rest on the ceramic. Check that there is enough room behind the seat to lift the lid.
Before you decide
- Photograph the bowl from directly above.
- Record width, usable length and hole spacing.
- Check access to the fixings.
The essentials
Your questions, our guidance.
Will adjustable hinges take care of the fit?
They allow adjustment within their specified range. You still need to check the seat outline and where the buffers land.
From idea to project
Discover at EDIFIS
Compare Geberit bowls and their seatsCare for the ceramic and hingesConfirm references, configurations, finishes and availability for your project.
Documentation & references
EDIFIS design advice. For specifications and installation, consult the documentation for the selected reference.
Olfa · Toilet seat compatibility guide ↗