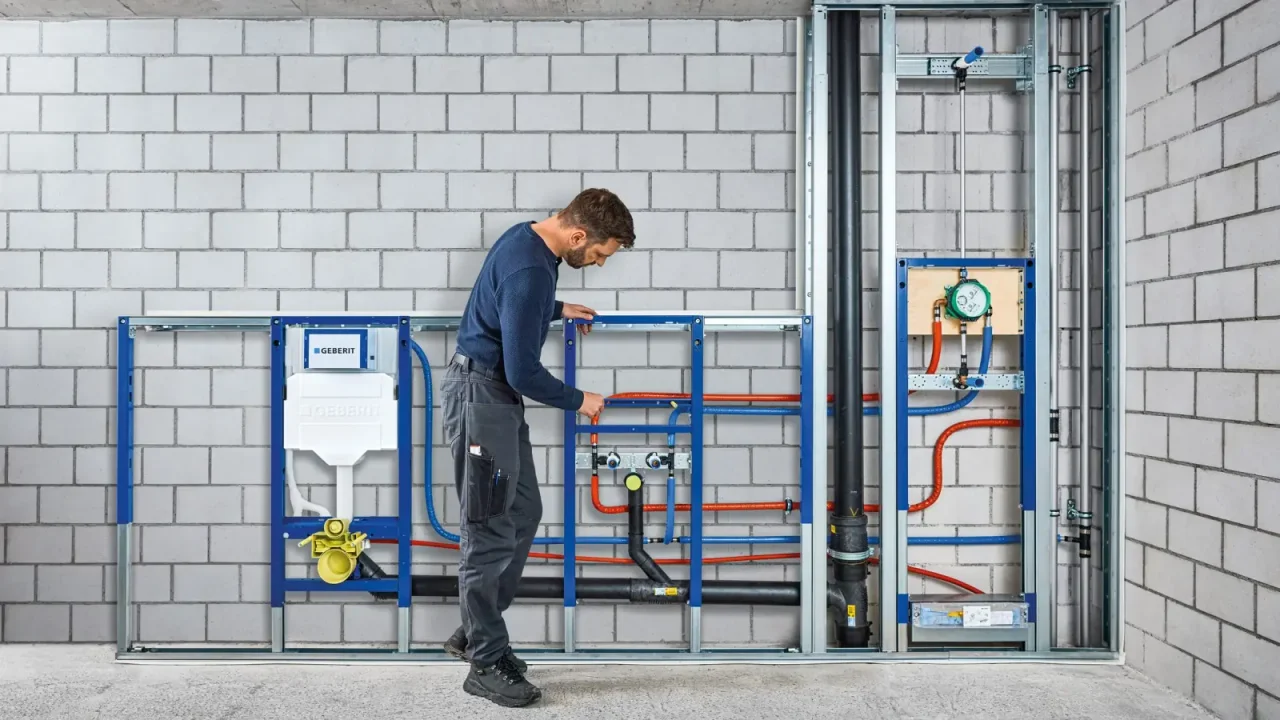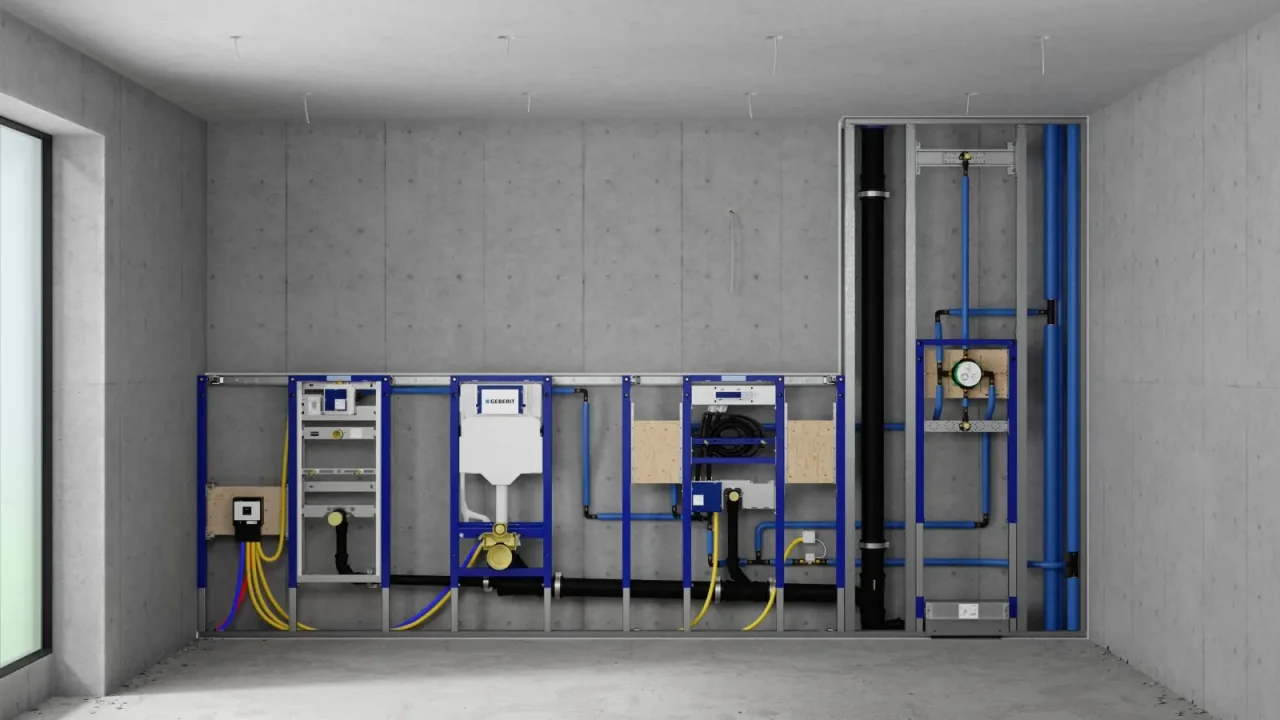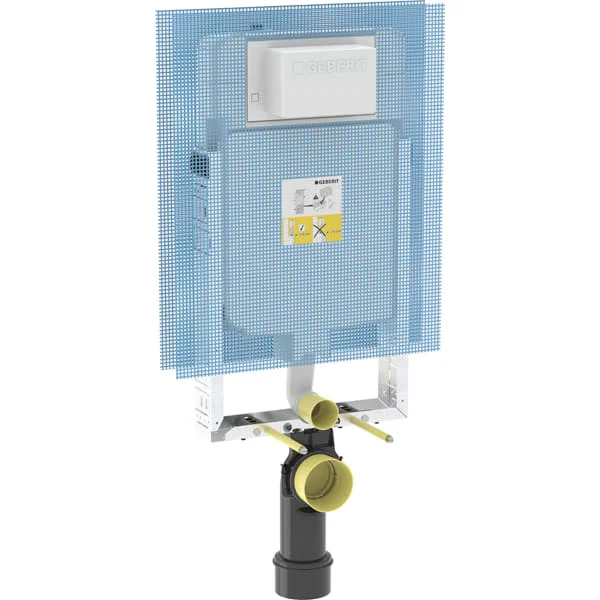
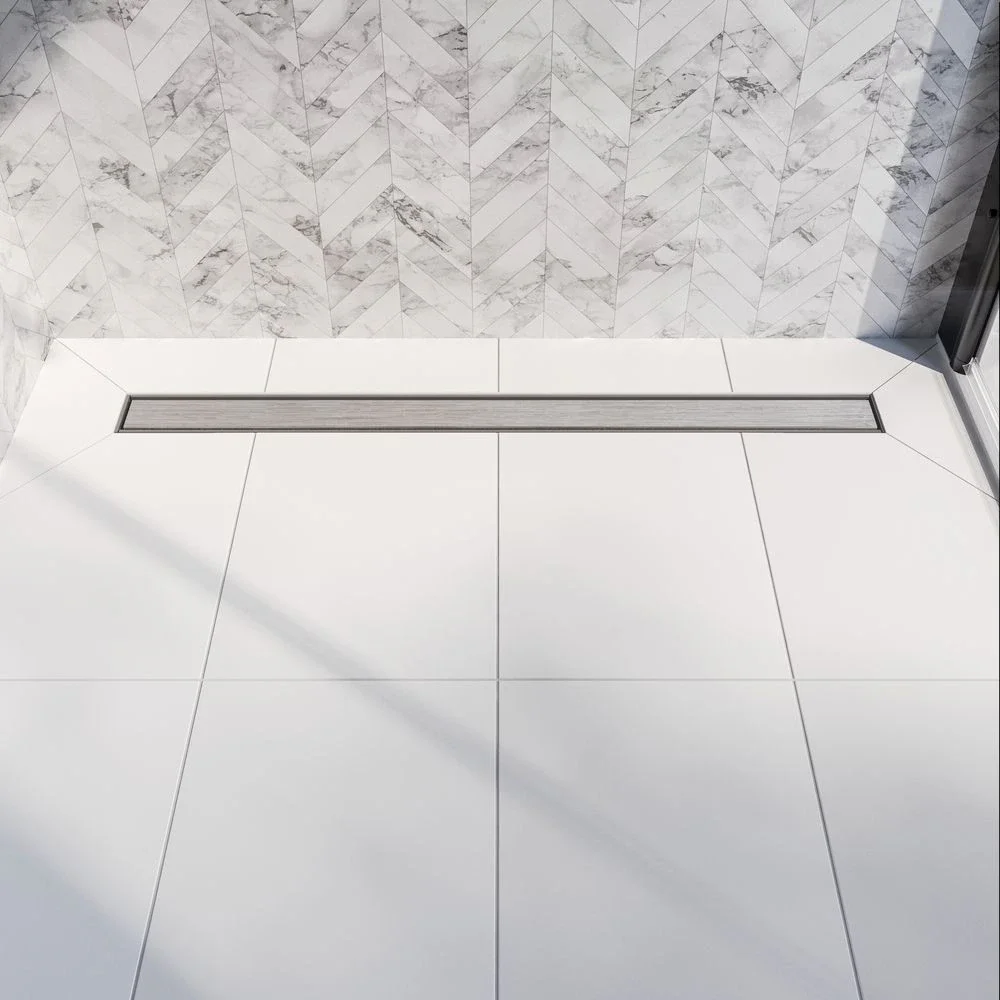
A channel can form a discreet line against the wall or become a floor detail. Its position should not be decided from an atmosphere image alone. It determines the water's route, tile cuts and the space needed for hidden components. Planning early simplifies coordination between plumber, tiler and designer.
01
Measure the depth actually available
Before choosing the visible length, have the available height measured for the drain body, connection and floor structure. The existing pipe level matters as much as the product's stated depth. A level-access shower needs to be checked in section.
Request a drawing of the complete assembly. A grate alone does not describe the trap's footprint or the connection route. At EDIFIS, Vogi solutions and Geberit documentation help prepare the selection around site constraints.
02
Draw the water's route
Channel position affects how the floor reaches the drain. Placement against a wall may allow a simple fall arrangement; other positions require a different layout. Have the precise solution checked against the chosen system.
Mark the shower zone, opening and areas vulnerable to overflow. The transition level to the rest of the bathroom must be studied with the whole assembly. An elegant line at the back of the shower does not by itself guarantee floor performance.
03
Coordinate tiles and waterproofing
Tile format, thickness and cuts must match the chosen geometry. Draw joints around the channel and wall junctions. A visually continuous surface does not remove the requirements of installation and waterproofing.
Manufacturers offer assemblies with specific interfaces. The parties involved must confirm compatibility between drain, waterproofing and covering. Avoid combining separately selected components without shared documentation or technical validation.
04
Keep cleaning within reach
Position the channel so that its removable element can be lifted and the intended cleaning access retained. A fixed screen, cabinet return or threshold may obstruct this. Check the clearance with all equipment shown on the plan.
After installation, request a maintenance demonstration and retain supplied tools or accessories. A good detail is also judged by this ease of use. Then coordinate the finish with the tap and other visible metals.
Before you decide
- Measure the existing drain levels.
- Draw the water's route.
- Coordinate covering and waterproofing.
- Preserve removal access for cleaning.
The essentials
Your questions, our guidance.
Can a channel be moved at the last minute?
This may change connections, falls and tile cuts. Review every relocation with the contractors before installation.
Does the channel's length indicate its flow capacity?
No. Consult the complete drain assembly's data and measurement conditions, then compare them with the shower's needs.
From idea to project
Discover at EDIFIS
Discover Vogi shower channelsGeberit documentationPrepare pipework and levelsConfirm references, configurations, finishes and availability for your project.
Documentation & references
EDIFIS design advice. For specifications and installation, consult the documentation for the selected reference.
Vogi · shower channels and slope profiles ↗Geberit · CleanLine installation set ↗