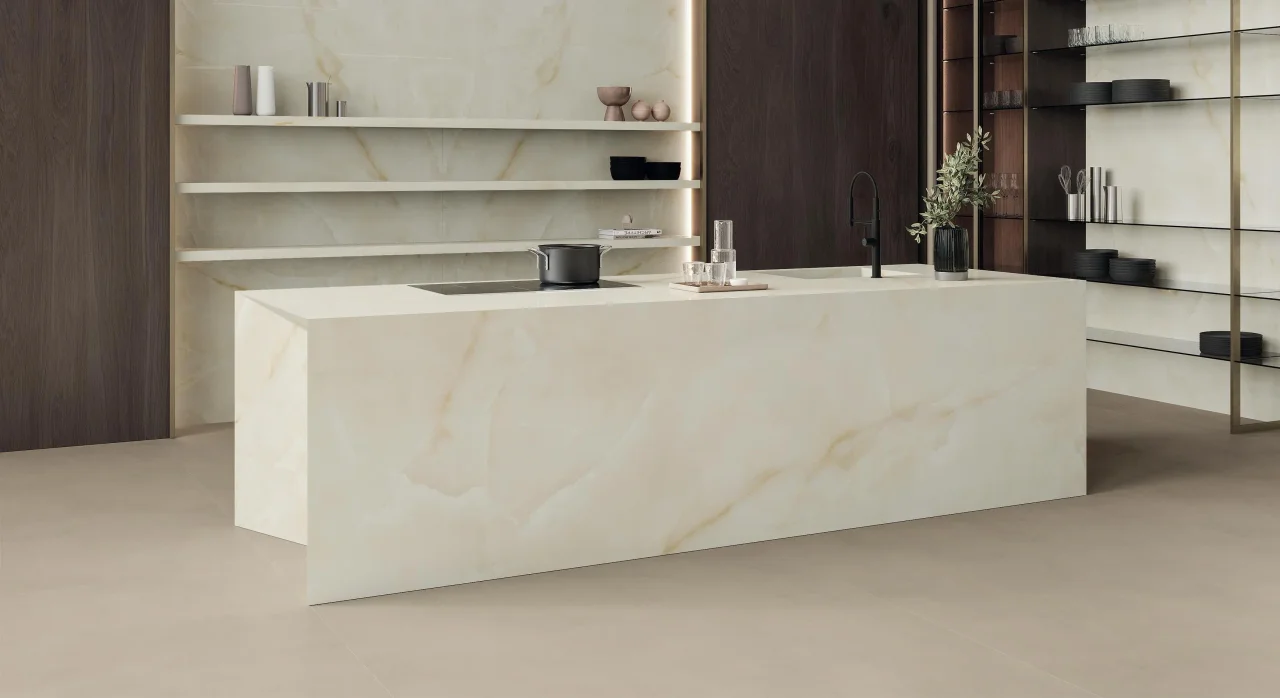

Rounded forms and small tiles offer interesting possibilities for kitchens and bathrooms. Cifre Cerámica’s 2026 presentations confirm the variety of decorative formats. But a narrow piece does not automatically follow every curve: the radius and substrate must be assessed before choosing the covering.
01
Draw the actual curve
Record the wall’s radius and height, then verify that its geometry remains consistent along its entire length. An approximate curve on a drawing can produce visible changes once tiled. Have the substrate checked by the professional responsible.
Specify whether the curve is concave or convex and how it meets straight sections. Ends, low-wall tops and returns need their own details. The overall appearance depends as much on these transitions as on the central surface.
02
Compare size and orientation
Flat tiles laid on a curve create a series of small facets. Their visibility varies with tile width, radius and joints. Vertical or horizontal laying should therefore be evaluated on a template, rather than solely in a computer rendering.
Mosaics and some small formats may offer possibilities, subject to their requirements. Do not turn a decorative suggestion into a technical guarantee for an entire collection. Ask EDIFIS about available formats and have the contractor validate the exact product.
03
Make a full-scale sample
Prepare a portion of substrate reproducing the curve with several rows. Check joint consistency, touch and behaviour at junctions. Light the trial from the side to reveal facets and compare its texture with the desired result.
The sample also helps plan end cuts and actual quantities. It may lead to a narrower tile, a different orientation or an altered radius. These changes remain straightforward at this stage, before the final support is made.
04
Preserve the wall’s functions
In a bathroom, geometry does not remove the need to verify water protection and installation-system compatibility. On an island or low wall, examine impacts, accessible corners and cleaning. The covering must suit its actual intended use.
Have the substrate detail and tile installation approved together. Keep the accepted sample until handover and record the product references. A successful curve relies on precise preparation, even when its final appearance seems very simple.
Before you decide
- Record the radius and junctions.
- Compare format and orientation.
- Carry out a full-scale trial.
- Validate substrate and intended use.
The essentials
Your questions, our guidance.
Can a small tile be bent?
Do not assume so. Ceramic pieces are rigid; adapting a curved surface depends on the layout and product.
Does mosaic always suit a tight curve?
No. Element size, mounting and radius must be checked against the manufacturer’s instructions.
From idea to project
Discover at EDIFIS
Cifre Cerámica at EDIFISSurfaces and formatsStudy your compositionConfirm references, configurations, finishes and availability for your project.
Documentation & references
EDIFIS design advice. For specifications and installation, consult the documentation for the selected reference.
Cifre Cerámica · collections presented in 2026 ↗Atlas Concorde · small and medium formats ↗